
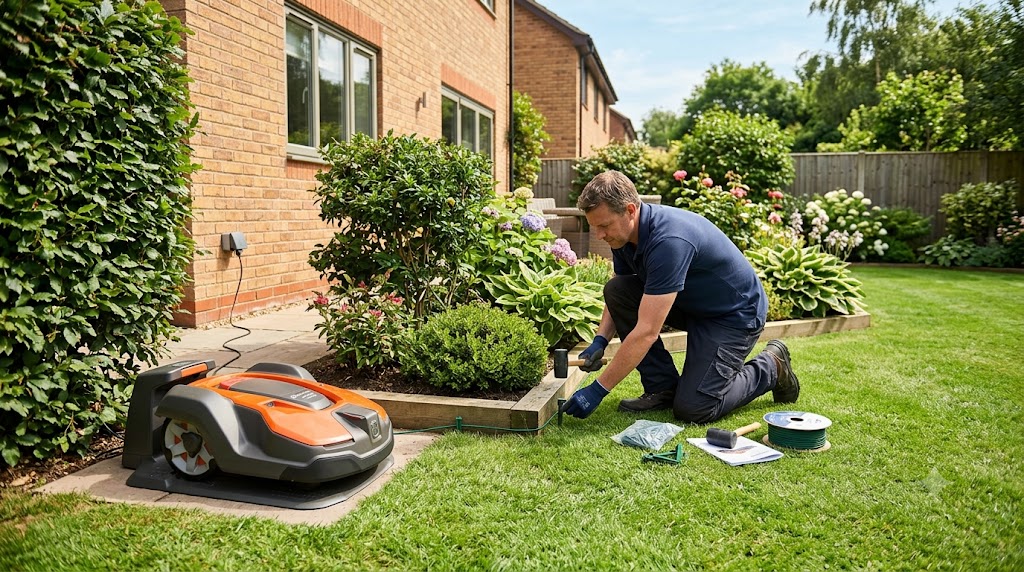
A neighbor of mine set aside “an hour, tops” on a Saturday morning to get his new Automower running. He was still out there at 3pm, wire cutters in one hand, phone propped against the fence playing the setup video on a loop. The mower itself took him twenty minutes to understand. The yard took him the rest of the day.
Short answer: Husqvarna’s own guidance puts a DIY wired Automower installation at 2 to 5 hours, depending on lawn size and complexity. Wire-free EPOS models are often faster since there’s no trenching, just driving the mower around the lawn’s edge through the app, though reference station setup adds time if you’re outside Husqvarna Cloud coverage. Professional installation typically runs $200 to $800 for a standard residential lawn and gets the whole job done in a single visit, usually the same day.
How Long Does a DIY Automower Installation Take?
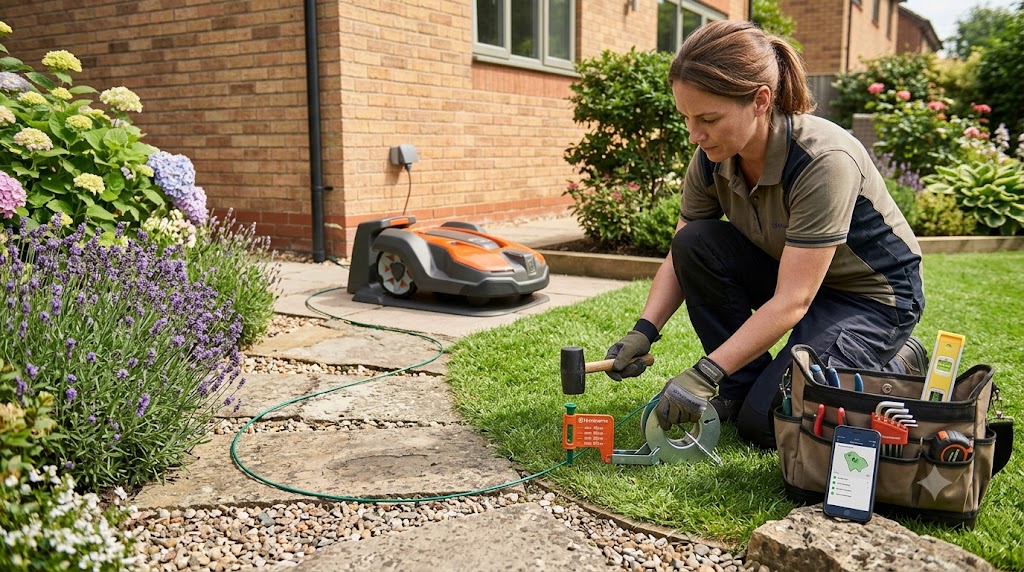
Husqvarna states directly that installing an Automower “can be done in a series of simple steps,” and that “depending on your lawn size and complexity, the total time can range from 2 to 5 hours.” That’s the manufacturer’s own number, not a rough guess, and it lines up with what independent installation guides report: expect somewhere between 1 and 10 hours total, with most straightforward suburban lawns landing in the 2 to 4 hour range.
Here’s roughly how that time breaks down for a wired installation on an average quarter-acre lawn:
| Task | Approximate Time |
|---|---|
| Unboxing, reading setup guide, planning wire layout | 20 to 30 minutes |
| Placing and securing the charging station | 15 to 20 minutes |
| Laying and pegging the boundary wire | 60 to 120 minutes |
| Laying the guide wire | 15 to 30 minutes |
| Connecting wires to the charging station | 10 to 15 minutes |
| Pairing the mower, app setup, first charge | 15 to 20 minutes |
That table assumes a fairly open, rectangular lawn. Add islands around flower beds, a pool, or a driveway crossing, and the wire-laying step alone can eat another hour or two.
Automower DIY Install Time by Model Type
The single biggest variable isn’t the mower’s size, it’s whether you’re installing a wired model or a wire-free EPOS model, since the two processes are almost entirely different.
Wired installation: you’re physically laying boundary wire and guide wire around the entire lawn, pegging it to the ground, and wiring it into the charging station. This is the slower path because it’s a hands-on landscaping task, not just a tech setup.
Wire-free EPOS installation: instead of burying wire, you place the charging station, set up a reference station (or connect to Husqvarna Cloud if it’s available in your area), then walk the mower around your lawn’s boundary using the Automower Connect app to record a virtual map. No trenching, no pegs, no wire cutters. For most yards this step alone takes well under an hour once the hardware is in place.
The catch: if your property falls outside Husqvarna Cloud coverage, you’ll need to mount and align a physical reference station with a clear view of the sky, which can add 20 to 40 minutes depending on where it needs to go, particularly if it requires a pole or a roof-eave extension kit.
What Slows Down a DIY Install
A handful of specific factors turn a 2-hour job into a 5-hour one:
- Islands and obstacles. Every flower bed, tree, or pond you exclude means running wire out to it, looping around it, and running back, roughly doubling the linear distance for each one.
- Driveway or path crossings. Wire has to cross at an expansion joint or through a cut slot sealed with caulk, which takes longer than a straight run through grass.
- Uneven or undocumented terrain. Husqvarna’s own pre-installation checklist recommends walking the lawn first to note holes, exposed roots, or low spots, since skipping this step often means redoing sections later.
- First-time unfamiliarity. Nearly every guide, official and third-party alike, assumes you’re watching the installation videos as you go. Budget extra time your first time through; a second Automower installed later on the same property goes noticeably faster.
- Weather and grass length. Husqvarna recommends cutting the lawn short the day before installation so the wire sits close to the ground; skipping this makes pegging slower and less precise.
Husqvarna Professional Installation Cost
For a standard residential lawn, professional Automower installation typically runs $200 to $800, depending on lawn size and layout complexity. One authorized US dealer, TruNorth Landscaping, lists installation starting at $795 for a fully functional setup, with the exact price scaling from there based on property size.
Husqvarna’s own professional installation program, available through certified installers in select cities, includes:
- Installation of boundary wire, up to three guide wires, and up to three obstacles (like a pool or garden bed) for wired mowers
- Full yard mapping of boundaries and obstacles for wireless EPOS mowers
- Wires fully buried rather than surface-pegged, reducing the chance of damage from trimmers or aerators
- A detailed quote before work begins, since every lawn is unique
It’s worth noting that the $2,000 to $4,500-plus figures you’ll sometimes see quoted for robotic mower installation apply to commercial-scale properties, golf courses, sports fields, and large estates using multiple reference stations, not a typical residential Automower. Don’t let that number scare you off if you’re installing on a normal home lawn.
Self Install vs Professional Automower: Which Should You Choose
There’s no universally correct answer here, but the tradeoff is straightforward once you frame it as time versus money.
| Factor | DIY Install | Professional Install |
|---|---|---|
| Typical time investment | 2 to 5 hours (your own time) | Same-day, no time from you |
| Typical cost | $0 (tools usually included in the box) | $200 to $800 for residential |
| Wire placement | Surface-pegged or shallow-buried | Fully buried, more weather-resistant |
| Best for | Simple, open lawns; comfortable with basic tools | Complex layouts, multiple obstacles, limited free time |
| Learning curve | Moderate, first-timer effort | None, handled by a trained installer |
If you value your Saturday and have a layout with several obstacles, professional installation often pays for itself in time saved and a cleaner wire job. If your lawn is a simple rectangle and you don’t mind a few hours of hands-on work, DIY is genuinely straightforward and saves the installation fee entirely. For context on what that time is roughly worth, the U.S. Bureau of Labor Statistics reports a median hourly wage of $18.50 for grounds maintenance workers as of May 2024, so a 3-hour DIY install compares to roughly $55 to $60 of labor value, well under most professional installation quotes, though a dealer’s price also covers expertise, materials, and a fully buried, weatherproofed result you’re not paying for with your own time alone.
Automower Install Difficulty: Is It Actually Hard?
Husqvarna’s own answer, in its own words: “No, it’s not hard, but the installation time depends on the size and complexity of your lawn.” That matches what most owners report. The individual steps are simple: place a station, lay wire, connect two cables, pair an app. Nothing requires an electrician or a landscaper’s toolkit.
The tools you need, per Husqvarna’s official guidance, are minimal: a pair of pliers, a rubber mallet, and a small garden shovel if you’re planning to bury rather than surface-peg the wire. Everything else, including the wire, connectors, and pegs, comes in the box with most models.
Where difficulty actually shows up is in planning, not execution. Deciding where wire should run around an oddly shaped bed, figuring out how to handle a driveway crossing, or troubleshooting a first-time Bluetooth pairing issue are the moments that eat time, not any single step being technically hard.
Robotic Mower Setup Time After Installation Is Done
Physical installation is only part of the clock. A few additional waits apply before the mower is fully working:
- Initial battery charge: roughly 30 to 100 minutes depending on the model, per Husqvarna’s regional guidance (some older models list 80 to 100 minutes; newer iQ Series models can be faster).
- App pairing and account setup: typically 10 to 15 minutes if Bluetooth connects on the first try.
- Boundary mapping (EPOS models): the time it takes to walk the mower around your lawn’s edge through the app, usually 15 to 30 minutes for an average yard.
- First test run and adjustments: most guides recommend watching the first pass closely and expect to make small tweaks to wire placement or virtual boundaries afterward.
None of these add hours, but stacked together they explain why a “quick setup” often still eats most of an afternoon the first time.
Recommended Installation Tools and Kits
A few real, current products worth having on hand for a DIY install or for adding to an existing setup:
- Husqvarna Large Installation Kit — the manufacturer’s own kit with boundary wire, staples, splicers, and connectors sized for larger or more complex lawns; useful if your mower didn’t ship with enough wire for your layout.
- GWHOLE Waterproof IDC 314-Box Wire Connectors — handy backups for adding an island or extending wire mid-installation without waiting on a replacement part.
- EMBerg Plastic Boundary Wire Stakes, 100-Count — extra pegs for the above-ground test-run phase, since most kits include just enough for a standard layout, not extra for adjustments.
Having a few spares on hand before you start tends to save more time than any single technique, since running back to the store mid-install is the most common reason a 3-hour job turns into a weekend project.
The Bottom Line
A Husqvarna Automower installation takes 2 to 5 hours for most DIY homeowners, closer to the low end for a simple wire-free EPOS setup on an open lawn, and closer to the high end for a wired install with several obstacles. Professional installation costs $200 to $800 for a typical residential property and gets it done the same day with fully buried wire. Neither path is technically difficult; the time simply depends on how complicated your yard’s layout is, not how hard any individual step happens to be.
FAQ
How long does it take to install a Husqvarna Automower yourself? Husqvarna’s own guidance states DIY installation ranges from 2 to 5 hours depending on lawn size and complexity. Simple, open lawns with a wire-free EPOS model often finish closer to the low end.
How much does professional Automower installation cost? For a standard residential lawn, expect $200 to $800, with one authorized US dealer listing installation starting at $795. Costs above $2,000 typically apply to commercial properties, not residential lawns.
Is installing a Husqvarna Automower hard? No. Husqvarna itself states the installation isn’t difficult, just time-dependent on lawn size and layout. The required tools are minimal: pliers, a mallet, and a small shovel if burying the wire.
Is DIY installation or professional installation better? It depends on your priorities. DIY saves the installation fee but costs several hours of your own time and typically leaves wire surface-pegged rather than buried. Professional installation costs more but is faster for you and results in fully buried, weatherproofed wire.
How long does a wire-free Automower installation take compared to a wired one? Wire-free EPOS installation is generally faster since there’s no trenching involved, just placing hardware and walking the mower’s boundary through the app. Wired installation takes longer because of the physical wire-laying step.
Do I need an electrician to install an Automower? No. The charging station connects to a standard outdoor power outlet, and the boundary wire itself carries very low voltage. Standard homeowner tools and basic care are sufficient.
What tools do I need for a Husqvarna Automower DIY installation? Husqvarna’s official checklist lists a pair of pliers, a rubber mallet, and a small garden shovel if you plan to bury the wire rather than peg it to the surface. Most other materials come included in the box.
Why did my Automower installation take longer than expected? The most common causes are obstacles like flower beds or ponds that require wire islands, driveway crossings, uneven terrain discovered mid-install, and general first-time unfamiliarity with the process.
How long does it take to charge a new Automower before its first mow? Charging an empty battery typically takes 30 to 100 minutes depending on the model, based on Husqvarna’s own regional installation guidance.
Does Husqvarna offer professional installation everywhere? Professional installation through certified installers is available in select cities in the US, with a detailed quote provided before work begins. Availability and pricing vary by location, so check with your local Husqvarna dealer.
References
- Husqvarna US, Automower Wired Installation Made Simple: https://www.husqvarna.com/us/discover/automower-wired-installation-made-simple/
- Husqvarna US, Automower iQ Series DIY Installation: https://www.husqvarna.com/us/discover/automower-installation-made-simple/
- Husqvarna US, Automower Professional Installation: https://www.husqvarna.com/us/discover/robotic-mowers/automower-professional-installation/
- Husqvarna Ireland, How to install your Husqvarna robotic lawn mower: https://www.husqvarna.com/ie/learn-and-discover/how-to-install-a-robotic-lawn-mower/
- U.S. Bureau of Labor Statistics, Grounds Maintenance Workers Occupational Outlook Handbook: https://www.bls.gov/ooh/building-and-grounds-cleaning/grounds-maintenance-workers.htm