
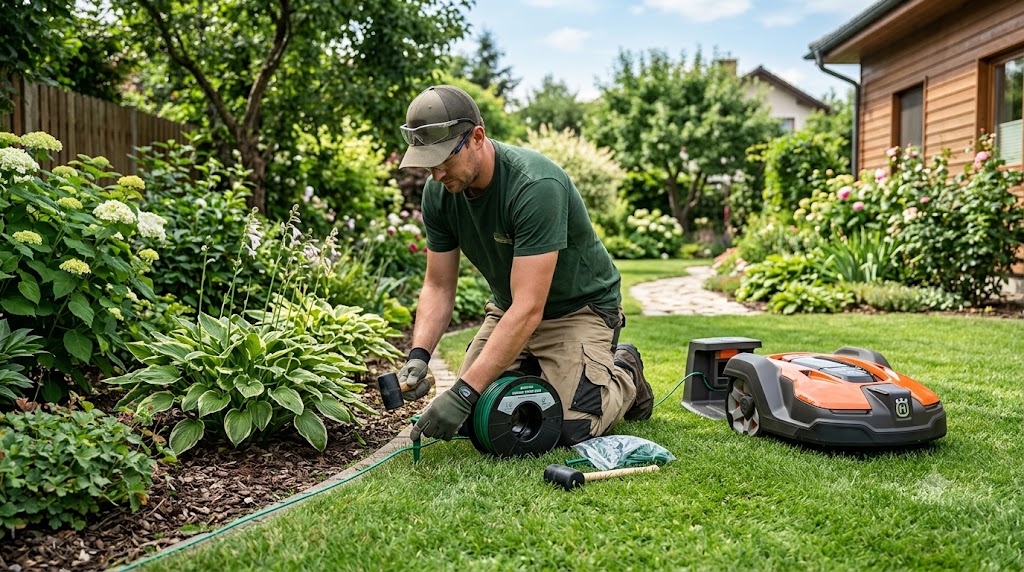
A friend of mine buried his boundary wire two inches down, ran the string trimmer along the edge that same weekend, and sliced straight through it without knowing. Three weeks later his mower stopped mid-lawn with a blinking blue light and no idea why. That single mistake, wire too shallow in exactly the spot he trims most, is the most common reason robotic mowers stop working, and it’s completely avoidable once you know the numbers.
Short answer: a robotic lawn mower boundary wire is a low-voltage cable that runs in a loop from the charging station around your lawn, sending a weak signal the mower detects to stay inside its work area. Most brands recommend burying it 3 to 7 cm (1 to 3 inches) deep, or pegging it directly to the ground for the first few weeks so you can adjust before it settles into the turf. Keep it taut, never let it cross itself, and use a proper connector, not electrical tape, anywhere you splice or extend it.
What Is a Robotic Lawn Mower Boundary Wire?
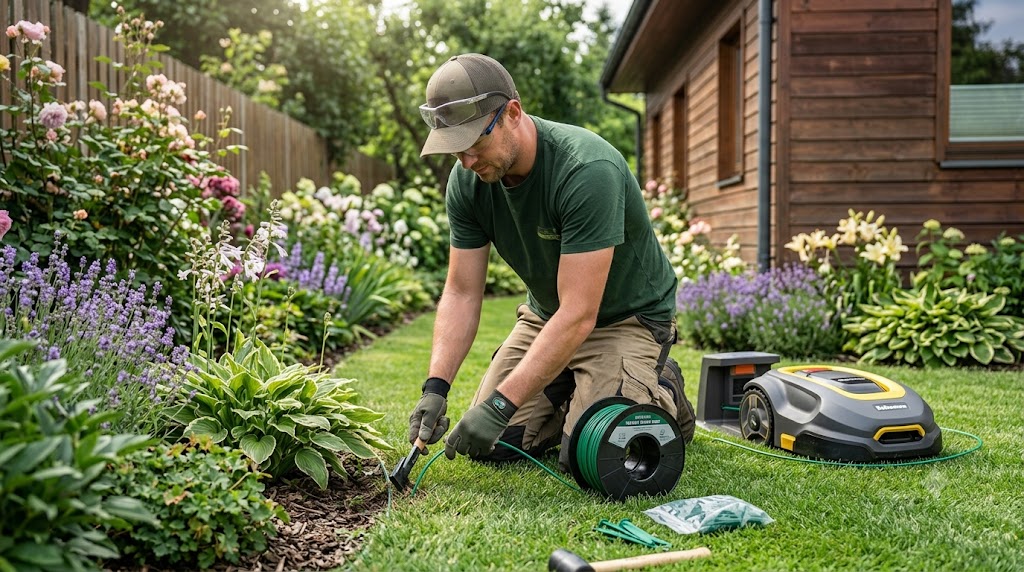
The boundary wire is a single-core cable connected to your mower’s charging station at both ends, forming one continuous loop. The station sends a low electrical current through it, creating a weak magnetic field. The mower’s onboard sensors read that field and treat it like an invisible fence: cross it, and the mower turns around.
This is different from the satellite-based wire-free systems some newer mowers use. If your model relies on a physical wire rather than GPS or RTK positioning, everything below applies to you.
Robot Mower Wire Depth: How Deep to Bury It
There’s no single universal number, because it depends on your mower’s signal strength, but the ranges cluster tightly across brands:
| Brand / Source | Recommended Depth | Maximum Depth |
|---|---|---|
| Husqvarna / Gardena (general guidance) | 4 to 5 cm optimal | Up to 30 cm under paving, per dealer guidance |
| eufy | 3 to 5 cm | 7 cm |
| Robomow | 4 to 5 cm | 7 cm |
| EGO Power+ | Flexible | 1 to 20 cm |
| Segway Navimow | 3 to 5 cm | Not specified |
The pattern that matters: 4 to 5 cm (about 1.5 to 2 inches) is the sweet spot nearly every manufacturer converges on. Shallow enough that the signal stays strong, deep enough to survive a scarifier or aerator pass. Going deeper than the stated maximum risks signal loss; going shallower than about 3 cm risks the wire resurfacing or getting caught by the mower’s own wheels.
One important distinction: this depth guidance is about signal strength, not electrical safety code. The National Electrical Code sets a 6-inch minimum burial depth for low-voltage landscape lighting circuits under NEC 300.5, but that rule exists to protect the circuit from physical damage under normal foot and lawn traffic, not to optimize signal detection. Boundary wire runs on a much weaker signal than lighting circuits, so following a mower manufacturer’s shallower depth is correct for this specific application. That said, the general practice of calling 811 before you dig, even a shallow trench, still applies in most states before you break ground anywhere on your property.
Boundary Wire Length Calculator: How Much Wire Do You Need
There’s no magic app for this, but the math is simple enough to do with a tape measure and a notepad.
- Measure your lawn’s outer perimeter. Walk the edge with a measuring wheel or estimate from a satellite map, then add the total in feet or meters.
- Double the distance to every island. For each flower bed, tree, or pond you’re excluding inside the lawn, you run the wire out to it, loop around it, and run back along almost the same path. That’s roughly 2x the one-way distance to each obstacle.
- Add a guide wire if your model uses one. This runs from the charging station to the far end of the lawn, typically another 10 to 30 meters depending on lawn depth.
- Add 10 to 15% for corners and adjustments. Curves, corrections, and connector loops eat more wire than a straight-line estimate suggests.
- Check the total against your mower’s maximum wire length. Manufacturers cap total loop length, commonly somewhere between 400 and 800 meters depending on the model, because signal strength drops as the loop gets longer.
Example: a rectangular quarter-acre lawn (about 330 feet of perimeter) with one flower bed island 20 feet from the edge and a 40-foot guide wire needs roughly 330 + 40 (there and back to the island) + 40 (guide wire) + 15% buffer, or about 460 feet total. Round up to the nearest common roll size (500 feet) rather than cutting it close.
Robotic Mower Wire Layout: Planning Before You Dig
Sketch the layout on paper before you touch a shovel. A few rules apply almost universally across brands:
- Never let the wire cross itself. Crossing creates signal interference and confuses the mower.
- Keep 30 to 35 cm (about 12 to 14 inches) between the boundary wire and any wall, fence, or raised bed. This gives the mower’s body clearance so the blades don’t strike solid obstacles.
- Keep 10 to 15 cm from flat lawn edges, flower beds, or paths. Since there’s no collision risk from a low curb, the mower can run closer.
- Use smooth curves, not sharp 90-degree corners. Sharp angles force the mower into slow, battery-draining maneuvers to stay inside the line.
- Keep passages wider than 60 to 70 cm. Narrower gaps put the two sides of the wire close enough together to cancel each other’s signal.
- Maintain at least 30 cm between the guide wire and the boundary wire. Too close, and the mower can’t distinguish which line to follow home.
Boundary Wire Pegs: Above-Ground vs Buried Installation
Every manufacturer recommends an above-ground test run first, wire pegged to the surface, for two to three weeks before you commit to burying it. This lets you fix layout mistakes without redigging a trench.
Above-ground pros: faster setup, easy to adjust, the wire grows into the turf and disappears within weeks. Above-ground cons: more exposed to string trimmers, aerators, and weather; shorter lifespan outdoors.
Buried pros: protected from tools and weather, invisible from day one, holds up longer under heavy garden use. Buried cons: slower to install, harder to troubleshoot a break you can’t see, and layout changes mean redigging.
Plastic pegs, not metal ones, are the standard recommendation, since metal staples can corrode against the wire jacket over time and let it work loose.
Automower Wire Splice and Connector: How to Join or Extend the Wire
If you’re extending the wire, adding an island, or repairing a break, the process is nearly identical across brands. For Husqvarna specifically, the official method is:
- Trim the wire ends cleanly with wire cutters, leaving about 1 to 2 cm exposed.
- Insert both wire ends into the coupler, one per hole, without stripping the insulation first. Automower connectors are self-stripping.
- Confirm both wires are fully seated by checking through the coupler’s transparent side.
- Press the coupler closed with pliers, starting in the middle, then the sides, until it clicks fully shut.
- Bury or peg the connector the same way as the rest of the wire.
Generic IDC 314-box connectors work the same way and are compatible across Husqvarna, Gardena, Worx, and most other brands, since the underlying wire gauge (typically 22-14 AWG) is standardized across the industry. Never use electrical tape or twist-and-cap wire nuts as a substitute; without a gel-filled, waterproof seal, moisture gets in and the connection corrodes within a season.
Boundary Wire Repair: Finding and Fixing a Break
A broken wire is the single most common reason a robotic mower stops working, and it’s usually simple to fix once you find it.
Signs of a break:
- The charging station shows a flashing blue, red, or yellow LED (color varies by brand).
- The app or mower display shows “No loop signal” or a similar error.
- The mower stops in the same spot every time, often near a trimmed edge, a gate, or a spot where you recently dug.
How to find it, from simplest to most precise:
- Check connections first. Loose or corroded terminals at the charging station cause more “broken wire” errors than actual breaks. Replacing terminals is a two-minute fix and worth doing every season regardless.
- AM radio method. Tune a battery-powered AM radio to an open frequency and walk it slowly along the wire. A steady hiss means the wire is intact; the hiss stops or weakens right where the break is.
- Multimeter method. Disconnect both ends of the wire from the station and measure resistance. A reading near 0 ohms means the loop is intact; an infinite reading confirms a complete break, and a high but finite reading suggests partial damage rather than a clean cut.
- Dedicated wire break detector. A transmitter and receiver pair gives the most precise location and is worth owning if you have a large or complex layout, since it can find partial breaks that an AM radio misses.
Once located, trim about 60 cm from each side of the damaged section to remove any hidden corrosion, then splice with a proper coupler as described above. Most breaks happen at predictable spots: along edges where a string trimmer runs, near gates, and anywhere a shovel has gone into the ground, so it pays to bury the wire a little deeper in those specific zones even if the rest of the loop sits at standard depth.
Best Boundary Wire, Pegs, and Connectors on Amazon
Real, current listings for anyone stocking up on installation or repair supplies:
- Husqvarna Automower Wire Connector, 5-Pack (official) — the manufacturer’s own coupler, the safest choice if you want a guaranteed match for an existing Husqvarna installation.
- GWHOLE Waterproof IDC 314-Box Wire Connectors — generic gel-filled connectors compatible with most brands, good for repairs or extensions on a budget.
- EMBerg Plastic Boundary Wire Stakes, 100-Count — plastic pegs sized for the above-ground test-run phase, compatible with Husqvarna, Worx, and Robomow.
- ECENCE Boundary Wire Lawn Pegs, Set of 100 — hooked-head design that grips the wire without pinching it.
- Headley Tools 150m Boundary Wire Kit — an all-in-one option with wire, pegs, and connectors bundled together, useful if you’re starting from scratch.
- Universal Heavy Duty Boundary Wire, 500 ft, 14 Gauge — thicker than most stock wire, worth it if your original cable keeps failing.
- Universal Heavy Duty Boundary Wire, 1,500 ft — for large properties that need a full-loop replacement in one purchase.
Cross-check your mower’s manual for the exact wire gauge it expects before buying replacement cable; most residential models use 22 to 16 AWG, and mismatched gauge can affect signal strength.
Safety and Legal Basics Before You Dig
Two things are easy to overlook because the trench is shallow. First, the U.S. Consumer Product Safety Commission’s general lawn equipment guidance flags loose wire and debris left in a mowing area as a thrown-object hazard, so any above-ground test-run wire should stay pinned flat and out of the blade’s path, not loosely coiled where a mower or trimmer could catch it. Second, most states legally require a call to 811 before any digging project, even a shallow one for boundary wire, since older or shallow utility lines can sit closer to the surface than expected; Pennsylvania’s Public Utility Commission and similar agencies in other states enforce this as part of underground utility protection law. It costs nothing and takes a few days’ notice.
If you’re also researching whether a physical wire is even the right call for your yard, our comparison of wired versus wire-free robotic mowers breaks down when each approach makes more sense.
The Bottom Line
Boundary wire installation succeeds or fails on four things: bury it at the depth your manufacturer specifies (usually 4 to 5 cm), never let it cross itself, use a real waterproof connector for every splice, and test it above ground for a few weeks before committing to a permanent trench. Most of the frustration people report with robotic mowers traces back to skipping one of those four steps, not to the mower itself.
FAQ
How deep should I bury my robotic mower’s boundary wire? Most manufacturers recommend 4 to 5 cm (about 1.5 to 2 inches), with a maximum around 7 cm before signal strength starts to drop. Some brands, including Husqvarna and Gardena, tolerate burial up to 30 cm under paving stones or patios specifically.
Can I use any wire for a boundary wire repair or extension? You need single-core wire in the gauge your mower specifies, typically 22 to 14 AWG, with a weatherproof jacket rated for direct burial. Standard indoor electrical wire is not a safe substitute.
What does a flashing light on the charging station mean? It almost always signals a broken or disconnected boundary or guide wire. The exact color varies by brand: Husqvarna commonly uses flashing blue, while other brands use red or yellow, so check your specific model’s manual.
How do I find a break in my boundary wire without special tools? A battery-powered AM radio tuned to an open frequency will hiss steadily along an intact wire and go quiet or weak at the break point. This works for most complete breaks, though partial damage sometimes requires a multimeter or dedicated detector.
How much boundary wire do I need for my yard? Measure your lawn’s perimeter, double the distance to any islands like flower beds or trees, add your guide wire length, then add 10 to 15% for corners and adjustments. Round up to the nearest common roll size rather than cutting it close.
Can I splice a boundary wire without a special connector? Technically you can twist wires together and wrap them in electrical tape, but moisture will corrode the connection within a season. A gel-filled waterproof connector, either the manufacturer’s own coupler or a generic IDC 314-box connector, is the only reliable long-term option.
Do I need to call 811 before laying a boundary wire? In most states, yes, even for a shallow trench, since digging laws generally apply to any excavation regardless of depth. It’s a free call and typically requires a few business days’ notice before utilities mark their lines.
Why does my mower keep losing signal in the same spot? This usually points to a specific local issue rather than a general wire problem: a partial break, a loose connection, nearby interference from landscape lighting or an underground pet fence, or wires crossing near an island. Check that specific area first before assuming the whole loop needs replacing.
How far should the boundary wire be from a wall or fence? Around 30 to 35 cm (roughly 12 to 14 inches) from solid obstacles like walls or raised beds, to give the mower’s body clearance. For flat lawn edges or flower beds without a raised lip, 10 to 15 cm is usually enough.
Should I bury my boundary wire right away or test it above ground first? Test it above ground, pegged to the surface, for two to three weeks before burying it. This lets you fix layout mistakes without redigging, and the wire will naturally grow into the turf during that period anyway.
References
- U.S. Consumer Product Safety Commission, lawn and garden equipment safety guidance: https://www.cpsc.gov/s3fs-public/5126WalkBehindPowerMowerFactSheet.pdf
- University of Florida IFAS Extension, Autonomous or Robotic Mower Use on Florida Lawns: https://ask.ifas.ufl.edu/publication/EP667
- Pennsylvania Public Utility Commission, PA One Call and underground utility protection law: https://www.puc.pa.gov/pipeline-safety/pa-one-call/
- Husqvarna, official guidance on connecting boundary and guide wires: https://www.husqvarna.com/uk/support/husqvarna-self-service/how-to-connect-the-boundary-and-guide-wires-to-the-automower-charging-station-ka-01707/
- Husqvarna, official wire break repair guidance: https://www.husqvarna.com/ie/support/husqvarna-self-service/how-to-find-and-repair-a-wire-break-in-your-automower-installation-ka-01339/